 |
| Zuppa Valdese |
Today is a mix of history old and current along with a side of soup with the recipe to boot.

Today I am sharing a very traditional and simple, "cucina povera"soup recipe steeped in the deep and very dark history from our valleys. Our valleys, that are collectively referred to as the Vadesian or Waldensen and Pinerolese valleys are comprised of the Chisone that I live in, Germansca, a side valley of the chisone and one in which we gaze over and into daily, and the Pellice, that lies parallel just over the tops of the lower range of peaks of our skyline. The valleys derive their name for the rivers that run through them. All of our valleys are part of the greater Turin also known as Torino province, a large and sprawling area that all belongs to the Piemonte region, which also made up the northern portion of the Savoy kingdom.
You can find a concise and yet comprehensive history of the Waldensians origins, their struggles, brutalizations and present day religious affiliations in this link to the Wikipedia Waldensian article. The main thing to remember is that they are considered to be the earliest recorded "protestants" originating around 1173, Their heretical core belief of apostolic poverty as a way to perfection proved so inflammatory to the the catholic church, that they were brutally and relentlessly persecuted almost to annihilation through the centuries with the help of the royal Savoy rulers. Finally, on 17 Februaury 1848 the Savoy King Charles granted them their civil rights, in the keeping with the unification of Italy. The Valdesians lit bonfires in the evening of the 16th of February to let everyone know of their liberation. On the morning of the 17th February, they walked together to meet their neighbors and worship openly as had been denied them since the beginning of their existence. This tradtion is carried on today.
Most notably in 2015, Pope Francesco visited a Valdesian Temple in Turin and made a formal apology for the "brutality and inhumane actions" of the Catholic church. A long overdue acknowledgment and attempt towards reconciliation for centuries of misery inflicted to the Waldensian people for their religious beliefs. It was a historic and appreciated gesture, even if long overdue, from this pope and the Catholic church he represents.
When Waldensian families gather to celebrate and remember together all that came before, they come together to worship at their temple and afterwards share a meal together in celebration. It would not be uncommon to find this soup served at one of these meals. It is a humble reminder of the deprivation and suffering of that time, but the elevation of such simple ingredients to utter deliciousness merely by the quality of ingredients rings true to their core belief of simplicity.
The soup as it is now made consists of well made chicken or beef stock, poured over grissini bread sticks with a sprinkle of cinnamon and nutmeg and a generous drizzle of butter. That's it.
I can't help but think that even this humble version of this soup is the rich man's version of it, due to the fact that grissini weren't really around until they were popularized by the Savoy royal family and the spices would have been a rare treasure.
The future king of Savoy, Vittorio Amedeo II suffered from debilitating digestive problems so the royal doctor wanted a bread that would be easier for the child to digest. The thought was that the local "ghersa" bread which was still moist after baking promoted bacteria to proliferate in the stomach making proper digestion difficult for the the child. Around 1668 they called in a court baker named Antonio Brunero, who is credited with thinning the "ghersa" bread dough, stretching it by hand into long strips and then baked crisp. There was little crumb and mostly crust thus aiding in digestion and the eventual restoration of the young royals health.
It is also said that Napoleon was so fond of these little bread sticks "ghersini" in local dialect, that he brought Turin bakers to Paris to recreate them. They were not successful atit as they thought the water or air did not contribute to their success, so he then had then delivered to him every day from Turin. Ah, the life of a royal or great conquerer.
Anyway, my thinking is that it most likely was made back in the day with dry bread, meat stock and if they were lucky, butter for a filling meal when there might not have been much else around. With the invention and popularization of the grissini or bread sticks and precious spices like cinnamon and nutmeg, finding their way to the mountains once life became better for the Waldesians, then this humble soup took a step forward toward the sublime.
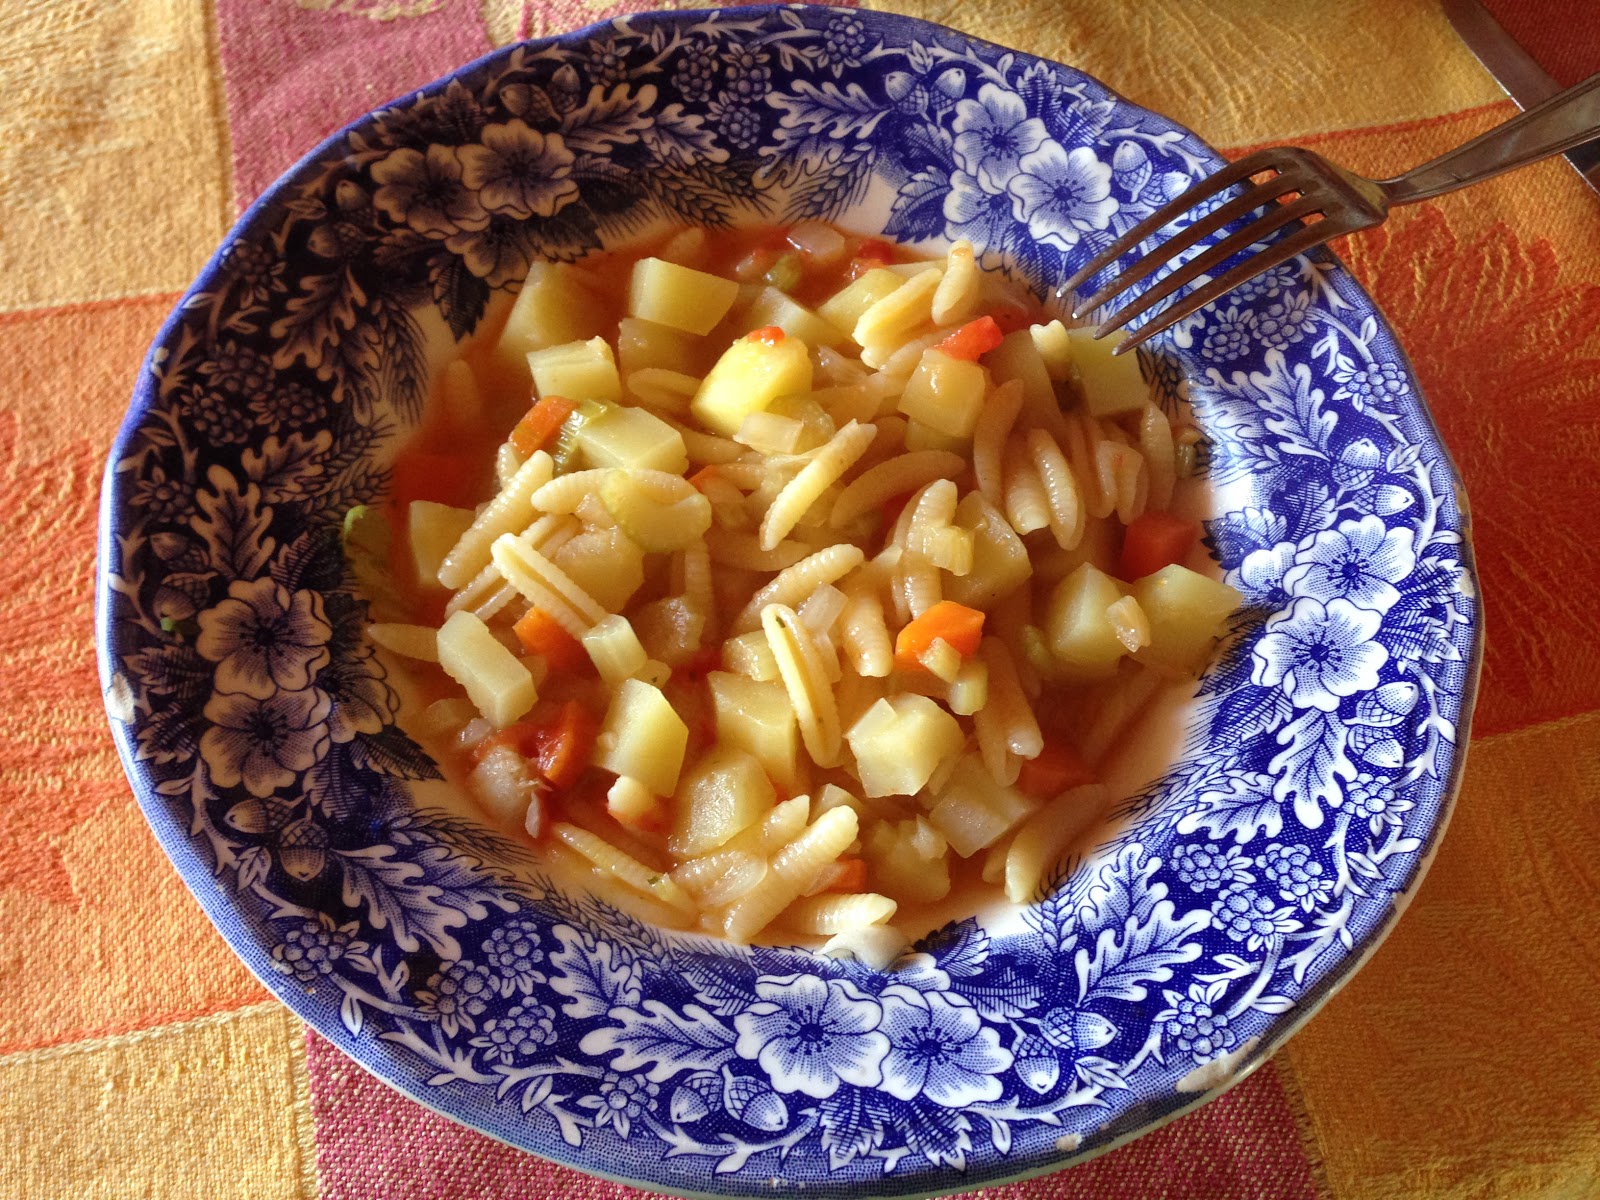
Believe me, this simple soup is quite tasty and quite satisfying on a frosty day or night. The trick of course is to have the best tasting ingredients you can and making your own rich meat stock is the place to start. Crisp flavorful grissini and farm fresh butter will make a big difference. Here cinnamon is used sparringly as a back flavour adding interest and a back note with just a few grates to a nutmeg to enhance and harmonize the flavours.

For the Valdese Soup
6 Servings - easily scaled up or down
Ingredients:
- Chicken or beef broth/stock*, at least 2 liters ( the amount of stock can easily be scaled to feed more or less people.
- 800 grams of grissini, here the type used dry and crispy
- cinnamon powder
- nutmeg, fresh grated if possible
- butter, good quality for the best flavour, use as little or as much as you like
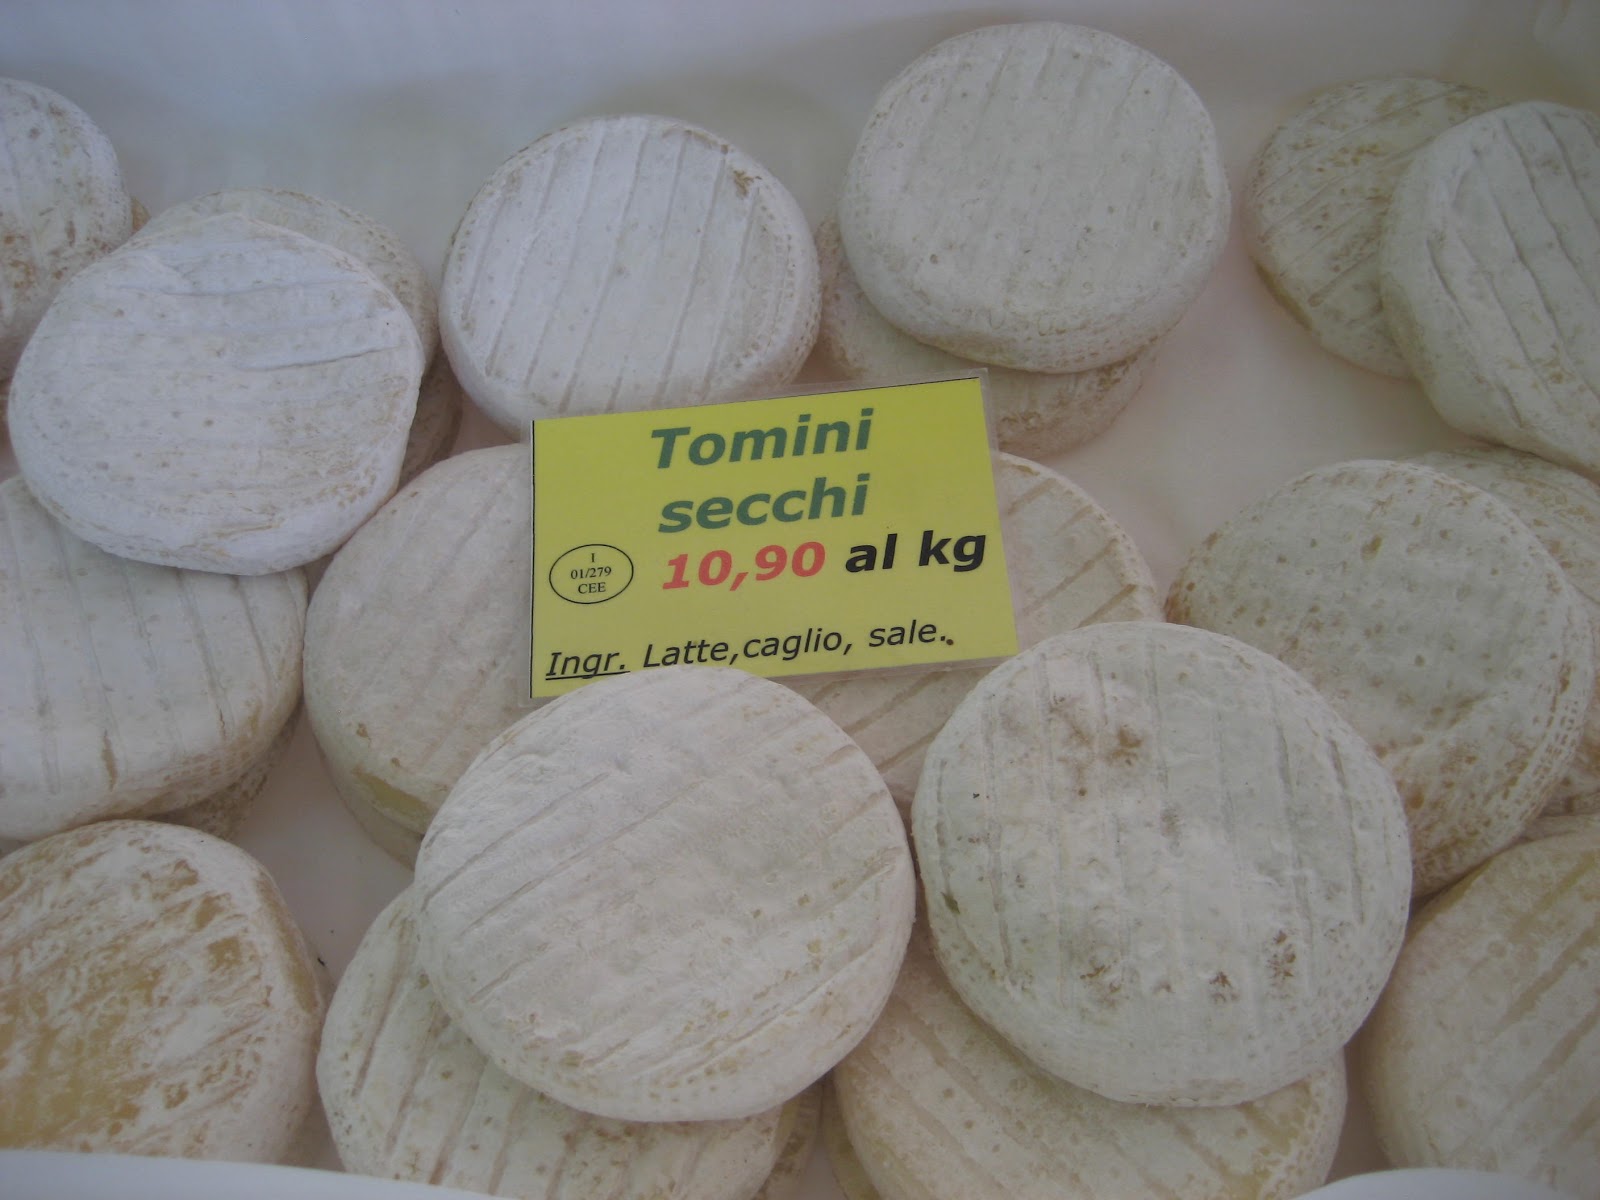
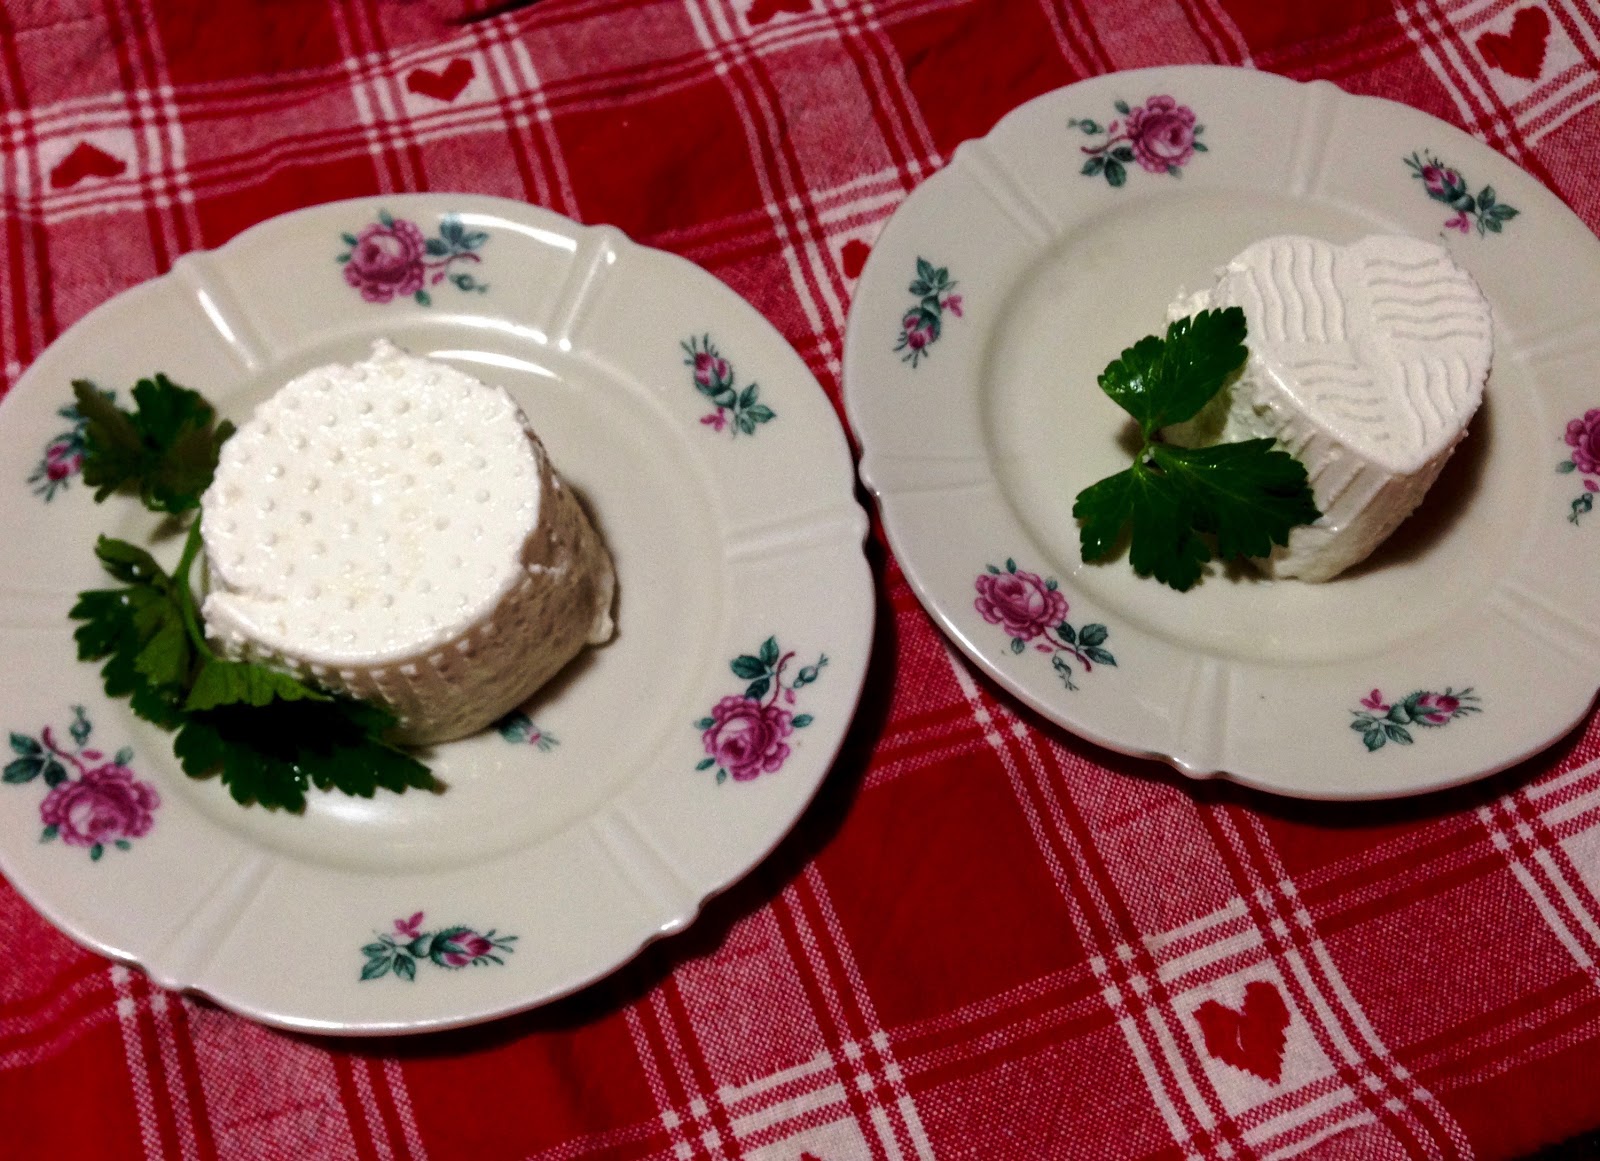
- Toma, an aged variety, a local cows cheese or parmigiana, grated
Directions:
Heat your stock up in a pot.
Butter a pan with some depth to the sides in order to hold your soup.
Place a layer of grissini in the bottom of the pan, breaking them in to pieces to fit and fill the bottom of the pan.
Sprinkle a little ground cinnamon and nutmeg on the layer and a few pieces of butter.
Repeat for several layers until everything is used.
Pour the hot broth over the grissini completely cover all and a little above the top layer.
Cover your pot and simmer gently until all is soft and absorbed. Add a little more as needed so it isn't completely dry. You also want a bit of liquid at the end so that it is soupy, but there isn't a lot of liquid.
When serving sprinkle grated toma or parmesan cheese on top of each serving and a drizzle of melted butter.
BUON APPETITTO!

* Stock is best when made at least one day before using and can be made 3-4 days ahead and kept in the refrigerator, degreased and strained.
To make a flavourful home made stock of about 3 liters/ quarts,
use a carcass from one chicken or about 300 beef bones.
Add a little oil to a sauce pan
Add the "sofritto" as it is called here or, as I like to call it,
"the holy trinity" of diced onions, carrots and celery.
Gently sauté the veggies till they start to get some color and then add the bones.
Brown it all up to bring the most flavour out that they can then impart to the water.
Add 4 liters/ quarts of cold water to cover the bones generously.
For this soup we add some aromatic herbs.
Tie a sprig or two of parsley, thyme and bay leaf together with some kitchen string and add to the stock. I sometimes add 3-4 black peppercorns, and occasionally rosemary and sage, if I have it on hand.
Bring to a boil covered, then quickly lower the the heat and remove the cover.
Gently simmer for at least 1 to 2 hours skimming the foam off as you keep an eye on the stock.
Let the stock sit with everything together overnight, if you can, to improve the flavour.
Next morning degrease the stock when cold, by pulling off the hardened layer of grease on top,
or let the stock cool some before straining all the bits out and then cool completely. Remove any grease on top.
Your stock is ready to use.
Links below to other of my posts about Waldensen and Valdesian February 17 Liberation Day Celebration and History
- Waldensen Liberation Day, 2008 - this one I describe the history more than in the other articles, but sadly Blogger seems to have "lost" my photos.. I will eventually try and get them put back on, but the other links have a lot of photos